
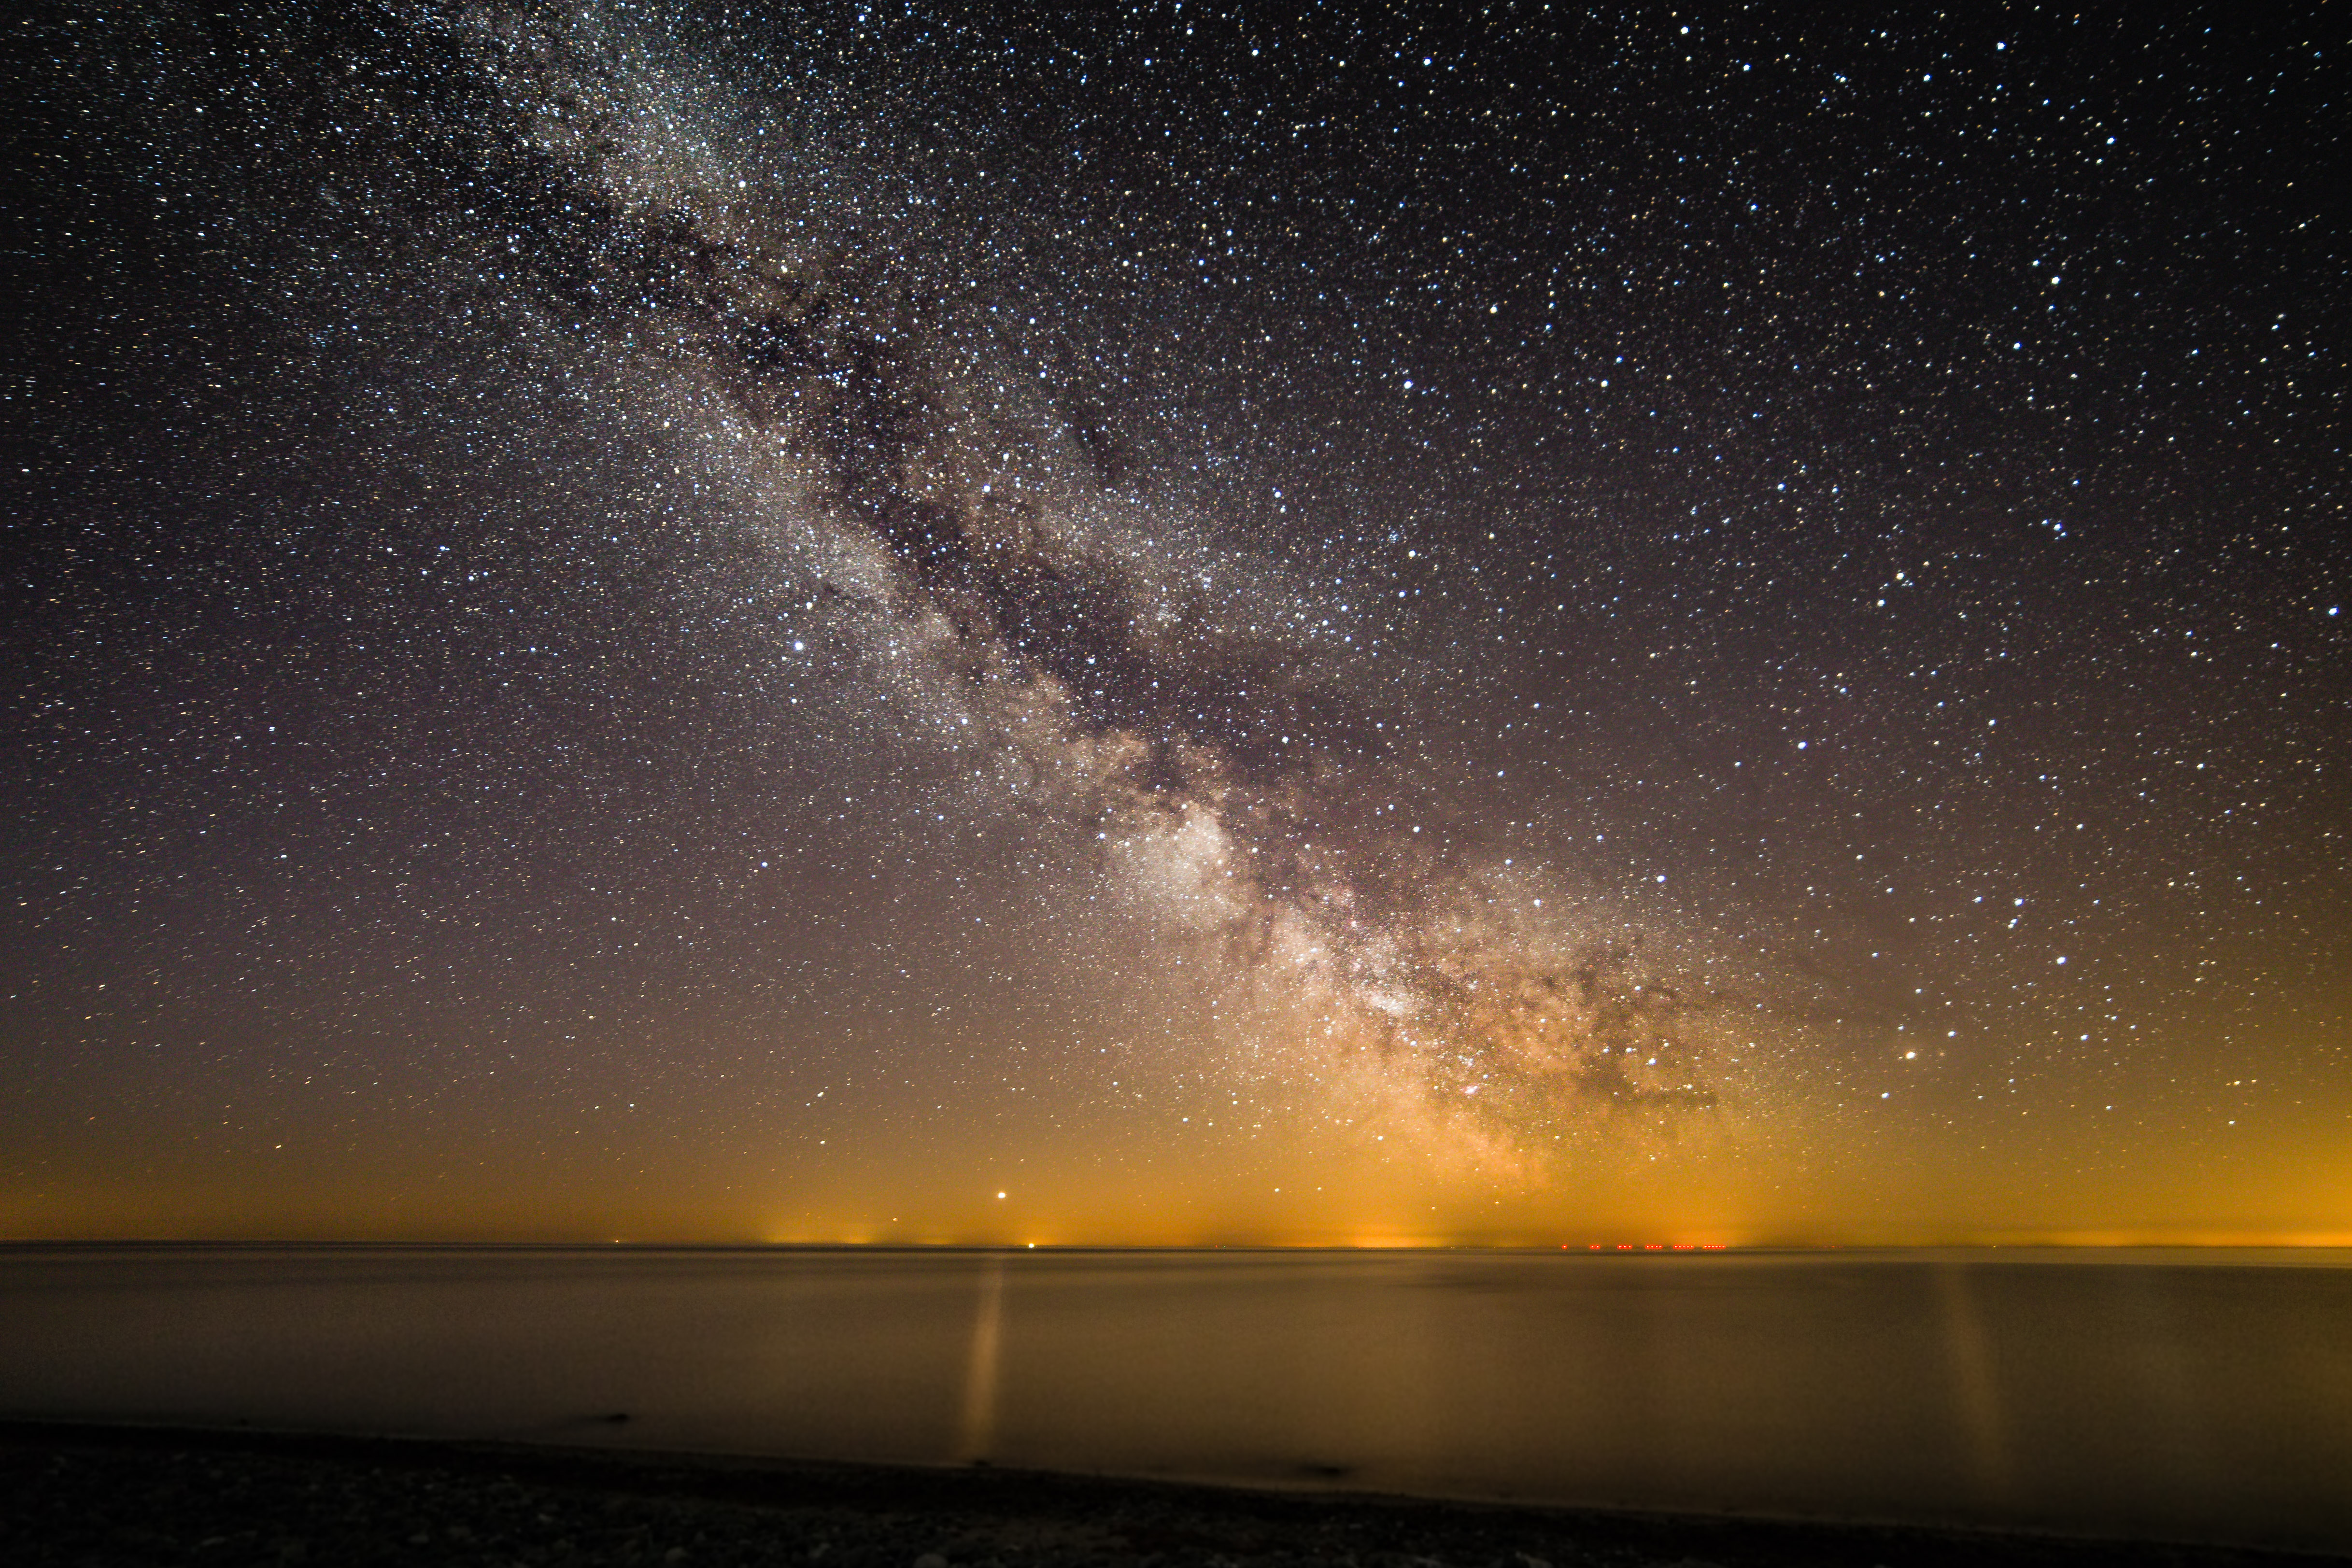
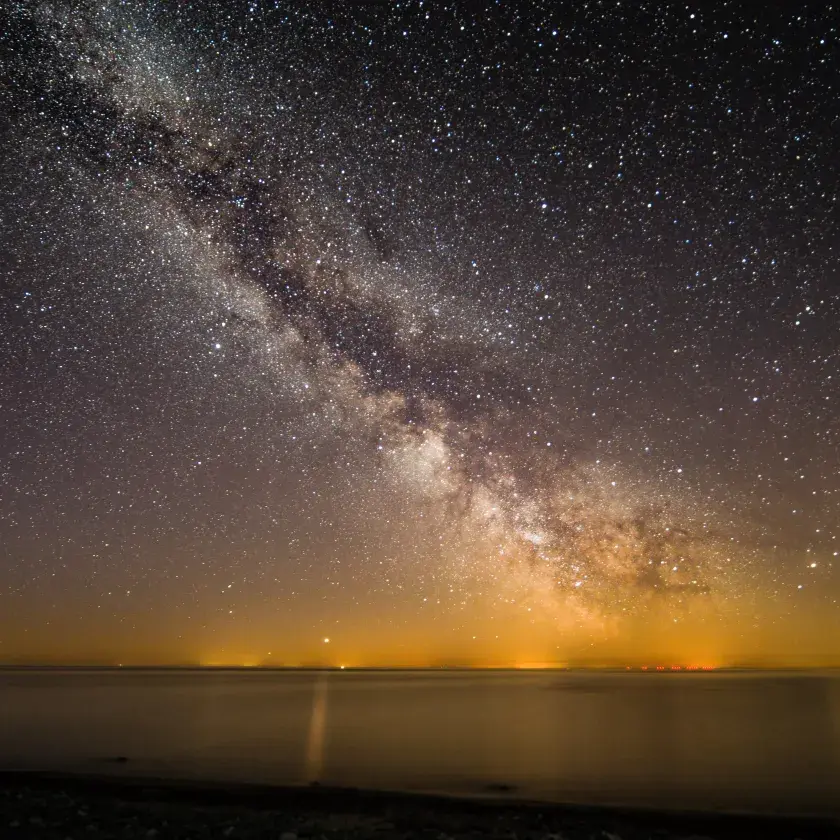
Here are some simple tips about how to take better photos at night
What You Need
Camera
A camera with a wide-angle lens, with a minimum aperture no higher than F4. F2.8 or less is better.
To see a large part of the Milky Way along with some landscape, a lens with a shorter focal length is needed, e.g., 14 mm. Reasonably inexpensive 14 mm lenses with an aperture of 2.8 and manual focus can be found for most cameras, which will work well for most beginners. The typical zoom lens that comes with cameras is mostly not very useful, because it cannot zoom out enough to capture a large area of the sky.
The camera must have manual focus capability, preferably by turning a ring on the lens.
Using a self-timer is best, so the camera waits for a few seconds before taking the picture after the button is pressed.
Batteries do not last long when it is cold, so an extra battery can be practical.
Tripod
If it is a bit windy, a stable tripod that is not made of pure plastic is best. Some light tripods have a hook at the bottom where you can hang your bag or something else heavy. This helps to prevent the tripod and camera from tipping over, which would very quickly end your photography career. It also makes everything more stable, so you do not get shaky pictures.
A bag of rice can be really good if you do not have a tripod. The camera can stand well, and a bag of rice is cheaper than a quality tripod. And the rice bag is actually better than a cheap tripod.
What You Should Know
Everything is harder when it is dark and cold. Therefore, it is a good idea to practice everything before you are on a cold hilltop in the dark in Møn.
Most people have not tried to focus manually on their camera. You must know how to do this, because autofocus does not work on stars.
You must know how to set the shutter speed and the aperture.
Aperture
Aperture is a number for how closed the lens is to light, so the higher it is, the less light comes in.
To see the faintest stars, the camera must be set to the lowest possible number. But it is very important to focus sharply, because even a very small movement of the focus ring on the lens will turn the stars into small blurry spots.
Shutter Speed
It takes time to capture light from stars. But if the camera uses too much time to collect the light, the earth has rotated so much in the time that the stars become streaks.
How long it can take to collect light depends on the focal length of the lens (stated as a number of mm on the lens), and how many pixels the image consists of. The maximum time also depends on where in the sky one is photographing.
The simple way to calculate the maximum shutter speed in seconds is = 500 / focal length.
This means that with a 50 mm lens, a shutter speed of 500 / 50 seconds, which is 10, can be used.
With a 14 mm lens, a shutter speed of 500 / 14 seconds, which is 35, can be used.
ISO
ISO stands for how much the camera amplifies the light that comes in. Too much amplification gives noise (grainy pictures), so one cannot just turn up the maximum ISO without consequences.
Most cameras have an optimal ISO, which can perhaps be found by searching for information about the camera.
If your camera has automatic noise reduction at long shutter speeds, it is best to turn it off, as it often also removes stars, which is not what is desired.
Self-Timer
It is good if one can set the camera to wait for a few seconds before taking the picture after pressing the button. It is best because it prevents the movement of the hand from causing shaking, so that all the stars become blobs.
Focusing
Experience suggests that focusing is the most difficult thing, because most have never tried to focus manually with their camera. Many do not know how to turn off autofocus, and since this is different for all cameras, an instruction cannot be given.
If the camera has "Live View," allowing the screen to show what the camera sees, and allowing zooming in on the image, a visible star can probably be found. Then the focus can be slowly adjusted back and forth until the star is seen clearest.
However, a picture can also be taken with the focus set to the farthest distance, and then checking later to see if it is sharp. If not, the focus can be adjusted slightly, another picture taken, and repeated until satisfied.
Moisture
When the sun sets and it starts to get cold, dew will quickly settle on everything, including the glass of lenses. It is not easy to clean. Special warmers for lenses can be acquired, or a hand warmer can be used fixed under the front part of the lens with an elastic band. It must not become too hot, and it is not necessary. The glass on the lens should just be a little warmer than the air, then dew will not settle there.
Preparations
Wear warm clothes, go outside, set the camera on the tripod, and aim towards the area that needs to be photographed. If the Milky Way is to be included in the picture, it is typically towards the south.
Set the camera to manual focus, turn it on, and look at the screen. Turn the focus to infinity (∞) and then slowly away from infinity until sharp stars can be seen.
Set the shutter speed to the number of seconds suitable for the lens, set the aperture to the most open (the lowest possible number (e.g., f2.8 or f4)), and the ISO to the maximum determined by the camera without producing overly grainy pictures, set the self-timer to 2-10 seconds, and take a test shot.
Look at the picture, zoom in to see if the stars are sharp, the picture is not shaky, and that the desired image has been captured.
Adjust if not satisfied, and try again.
All this can be practiced anywhere, including in daylight. But never try to photograph the sun!
Have fun, and keep your feet warm!
More Advanced Methods
Pictures can be taken with longer shutter speeds if a tracker is available, which rotates the camera in the opposite direction of the earth's rotation.
Many pictures can be taken with short shutter speeds, and stacked. It is also possible to use a very high ISO, because the resulting noise is leveled when many pictures are mixed.
Post-processing on a computer is absolutely necessary. Free software can be obtained to process the images, and very expensive software can also be purchased to make it even better.
If the camera can take RAW photos, it is much better, as it allows accessing the best of the pictures later.